 Home
Home
Tackling home improvement projects involving wood can be incredibly satisfying—until something goes wrong. Whether you’re working on your cabinets, furniture, or wall panels, it’s easy to overlook simple mistakes that lead to disappointing results. That’s especially true for beginners who haven’t yet learned the ropes of handling wooden surfaces. If you’re planning to upgrade your kitchen cabinets, for example, it’s worth brushing up on techniques like how to stain cabinet doors or ways to get a finish that looks polished rather than patchy.
Below, we’ll walk through common errors that many DIY enthusiasts make with wood and how you can sidestep them during your next project.
Skipping Surface Preparation
One of the most frequent mistakes is rushing into staining or painting without properly preparing the surface. Many DIYers underestimate how important it is to clean and sand wood before applying any finish. Dust, grease, or old varnish can interfere with stain absorption, resulting in blotchy and uneven colouring. If you’re working with kitchen cabinets, built-up residue from cooking oils is especially common and needs more than just a damp cloth to remove. Failing to prep correctly can ruin the end result—no matter how expensive the product you apply afterwards. Start by cleaning with a degreasing agent, followed by sanding in the direction of the grain using fine-grit sandpaper. It might feel tedious, but this step lays the groundwork for a far better outcome.
Choosing the Wrong Type of Stain
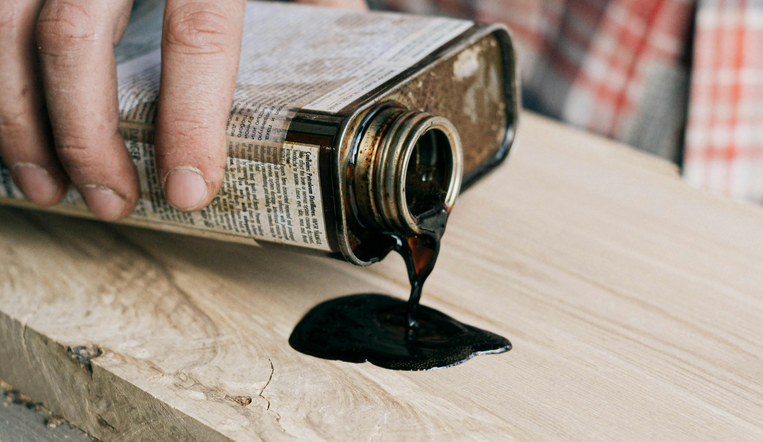
Not all stains behave the same way. Some are oil-based, others water-based, and still others come in gel form. A common mistake is picking a stain type without considering the type of wood, lighting in the room, or even your skill level. For instance, oil-based stains can give a deeper finish but require good ventilation and are trickier to manage. Water-based stains dry faster but might raise the wood grain if not applied correctly. Understanding how each stain interacts with specific types of wood and your environment is key. Matching the stain’s properties with your project needs can save you frustration and rework down the line.
Ignoring Drying Time Between Coats
DIYers often get excited to see their work finished and rush the drying process between coats. This is one of the most avoidable blunders. Applying the next layer too soon can lead to a sticky, streaky mess that doesn’t cure properly. Instead of a smooth, finished appearance, you’re left with visible brush marks or even peeling layers later on. Patience is essential here. Always check the product instructions and give the stain or sealant enough time to fully dry. Using a fan can help speed things up safely but resist the urge to touch or apply new coats prematurely.
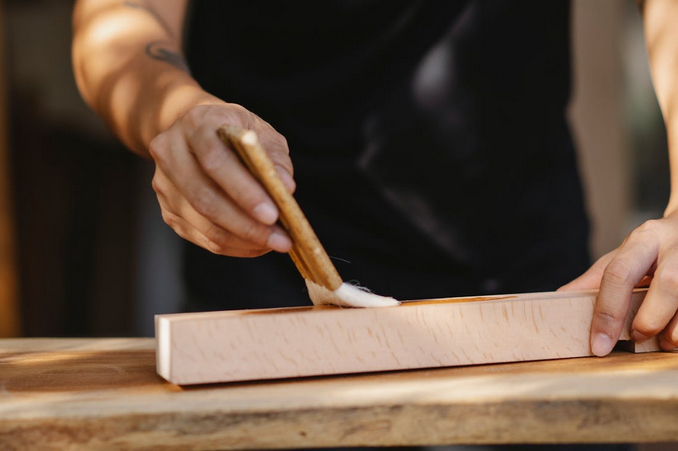
Over or Under-Applying Stain

Getting the amount of stain right can be harder than it seems. Applying too much stain can lead to pooling, making the surface look uneven or too dark. On the other hand, applying too little won’t bring out the natural nature of the wood and can leave the finish looking washed out. Many beginners believe more is better—but with wood stains, it’s really about balance. The trick is to apply a moderate amount, let it soak in, and then wipe away the excess using a clean cloth. Doing this gradually allows you to control the tone and prevents common problems like streaking or over-saturation.
Forgetting to Seal the Surface
Once the stain is applied and dried, some DIYers think their work is done. That’s a mistake. A protective finish isn’t optional—it protects the surface from scratches, moisture, and UV damage. Skipping this step can cause all your hard work to degrade much faster than expected. Polyurethane and other sealers are available in satin, glossy, and matte finishes, helping you customize the final appearance while extending the life of the stained surface. Take the additional step to seal the wood properly—it’s one of the best things you can do to preserve your effort.
Working with wood at home can be a rewarding challenge, but knowing things to avoid is equally important as knowing what to do. From prepping the surface to sealing your final coat, each step plays a role in how your project turns out. By steering clear of these five common mistakes, you’ll not only achieve a cleaner and more appealing finish but also gain confidence to take on more advanced DIY efforts in the future.